Register & Create an Application
The first step to get started using the 1upHealth Developer Console and APIs is to register as a 1upHealth developer. You can then create an application and specify your OAuth2 redirect URL.
Sign In or Create an Account
If you already have a 1upHealth developer account, you can sign in to the Developer Console and create your application. If you don't have a developer account, you can create a new account from the Developer Console.
-
Go to the 1upHealth Developer Console.
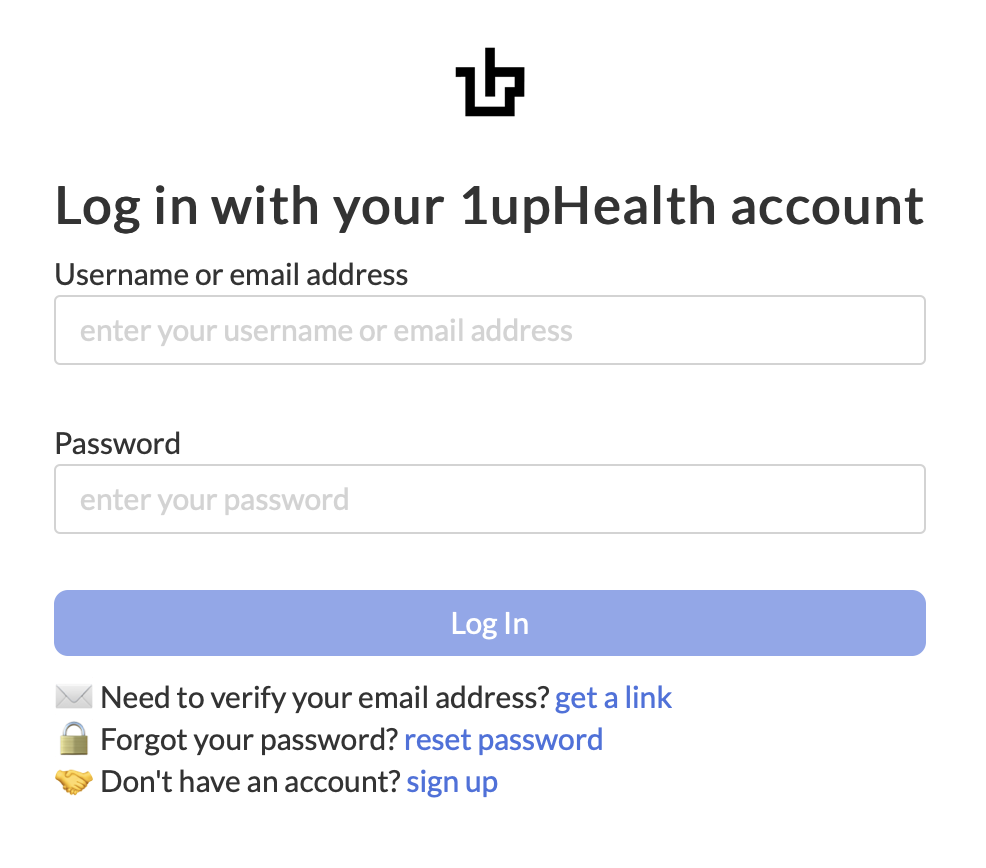
The Log In page appears.
-
 If you have a 1up Developer account
-
Type your user name or email address and password.
-
Click .
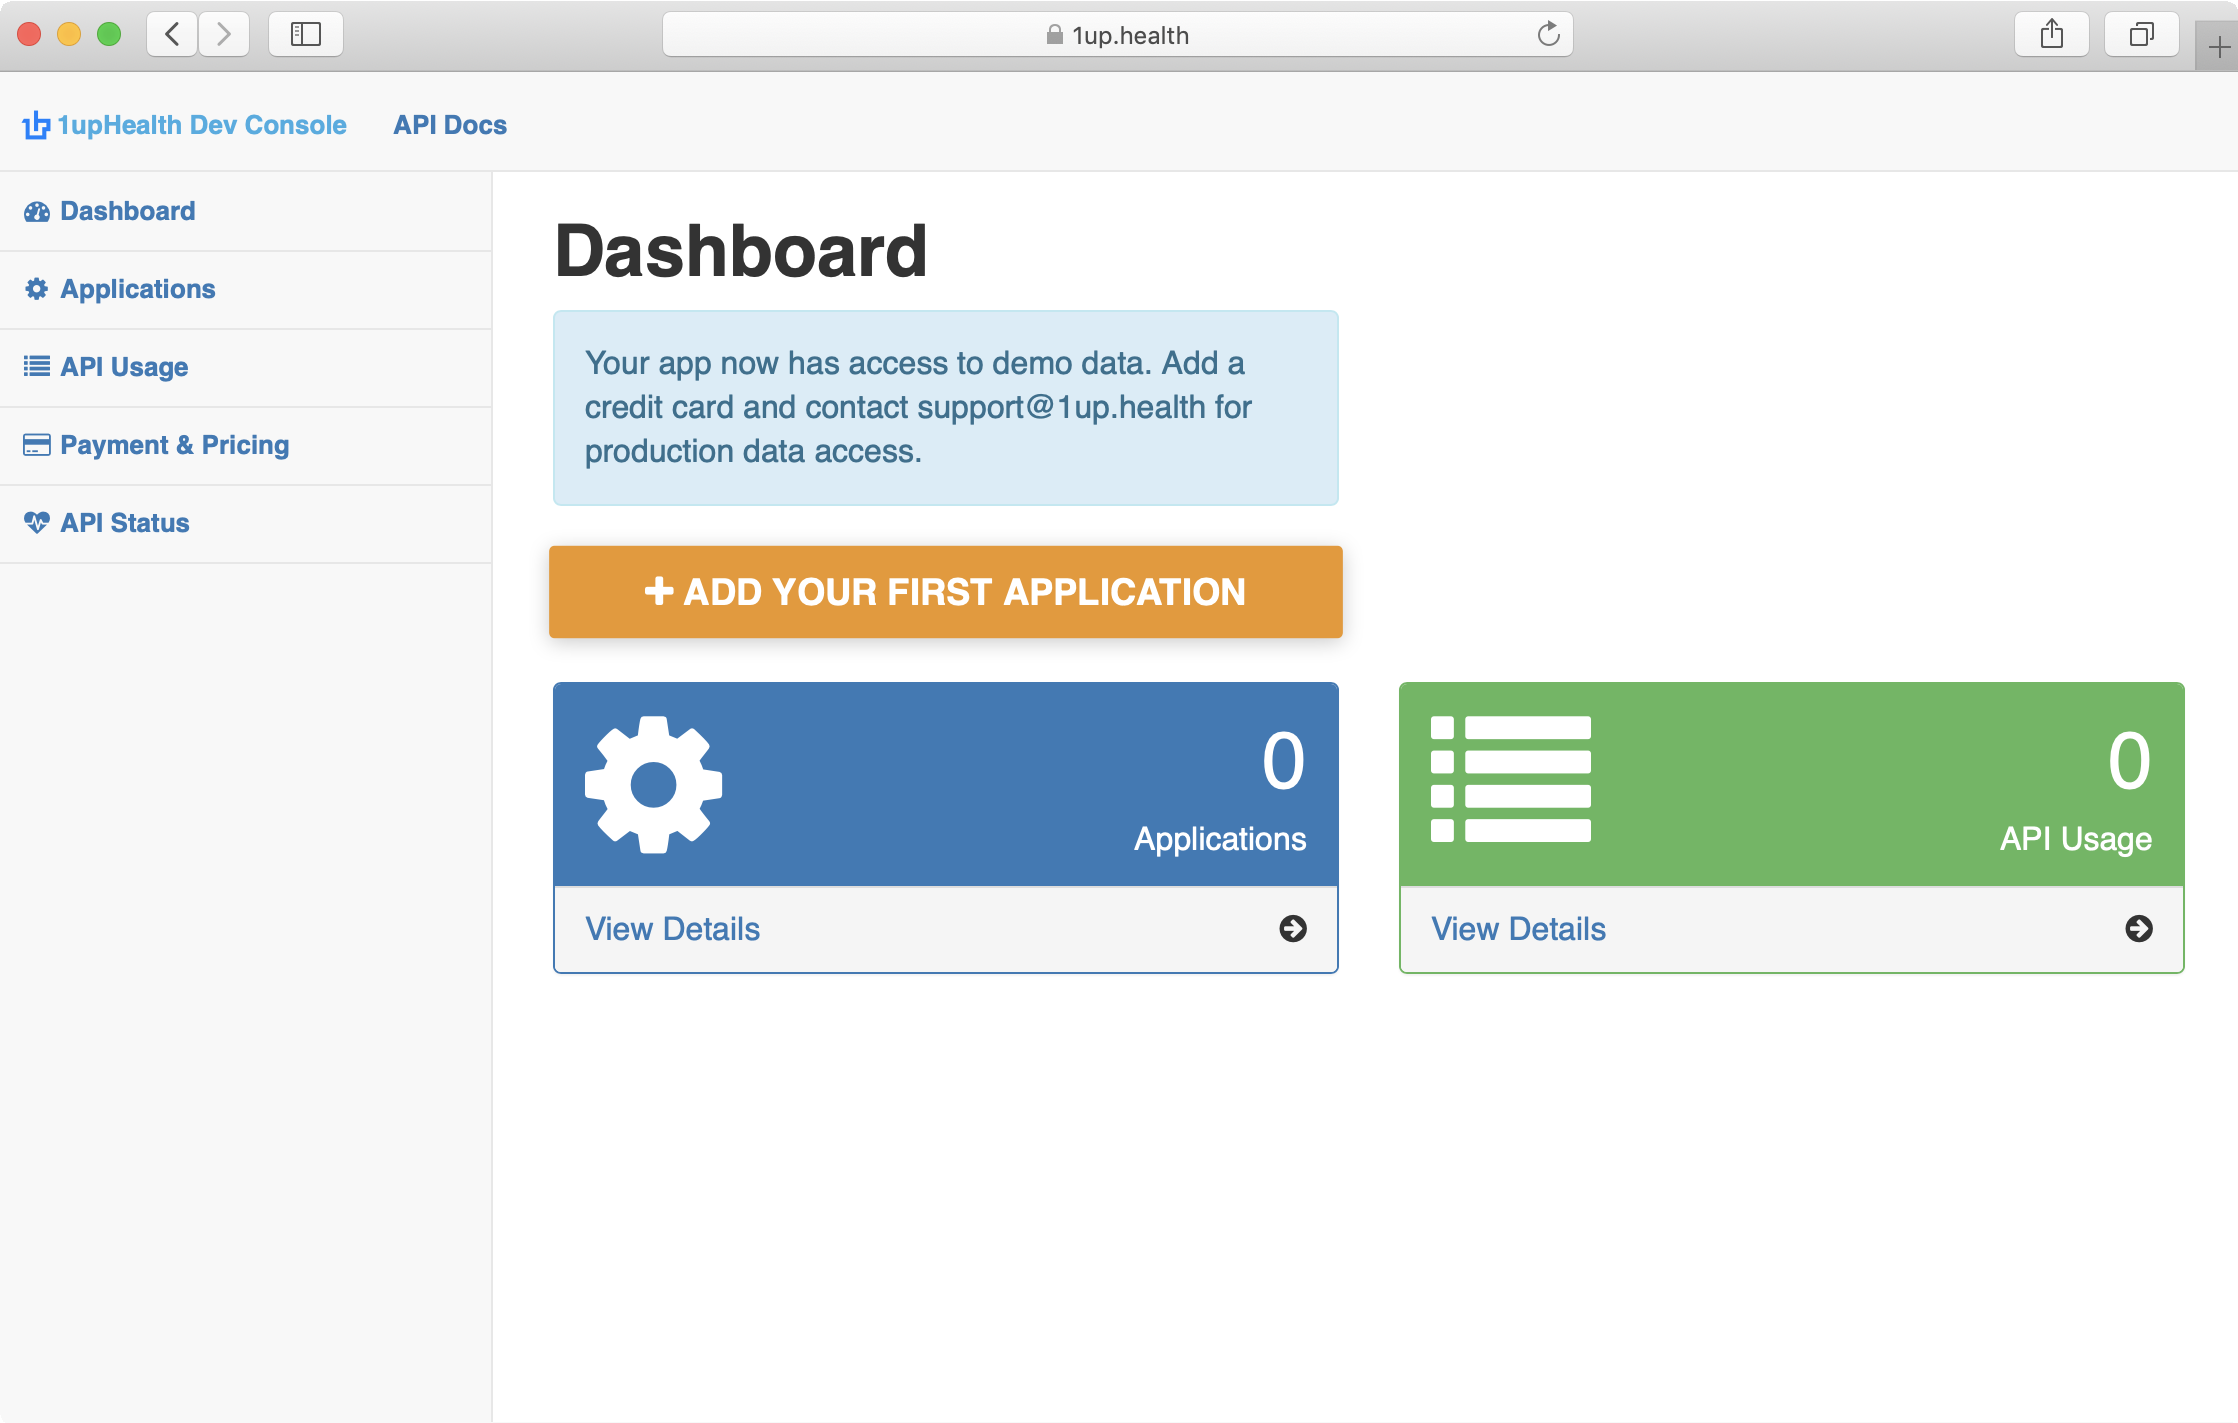
The Dashboard page appears.
 If you don't have a 1up Developer account
-
Click sign up.
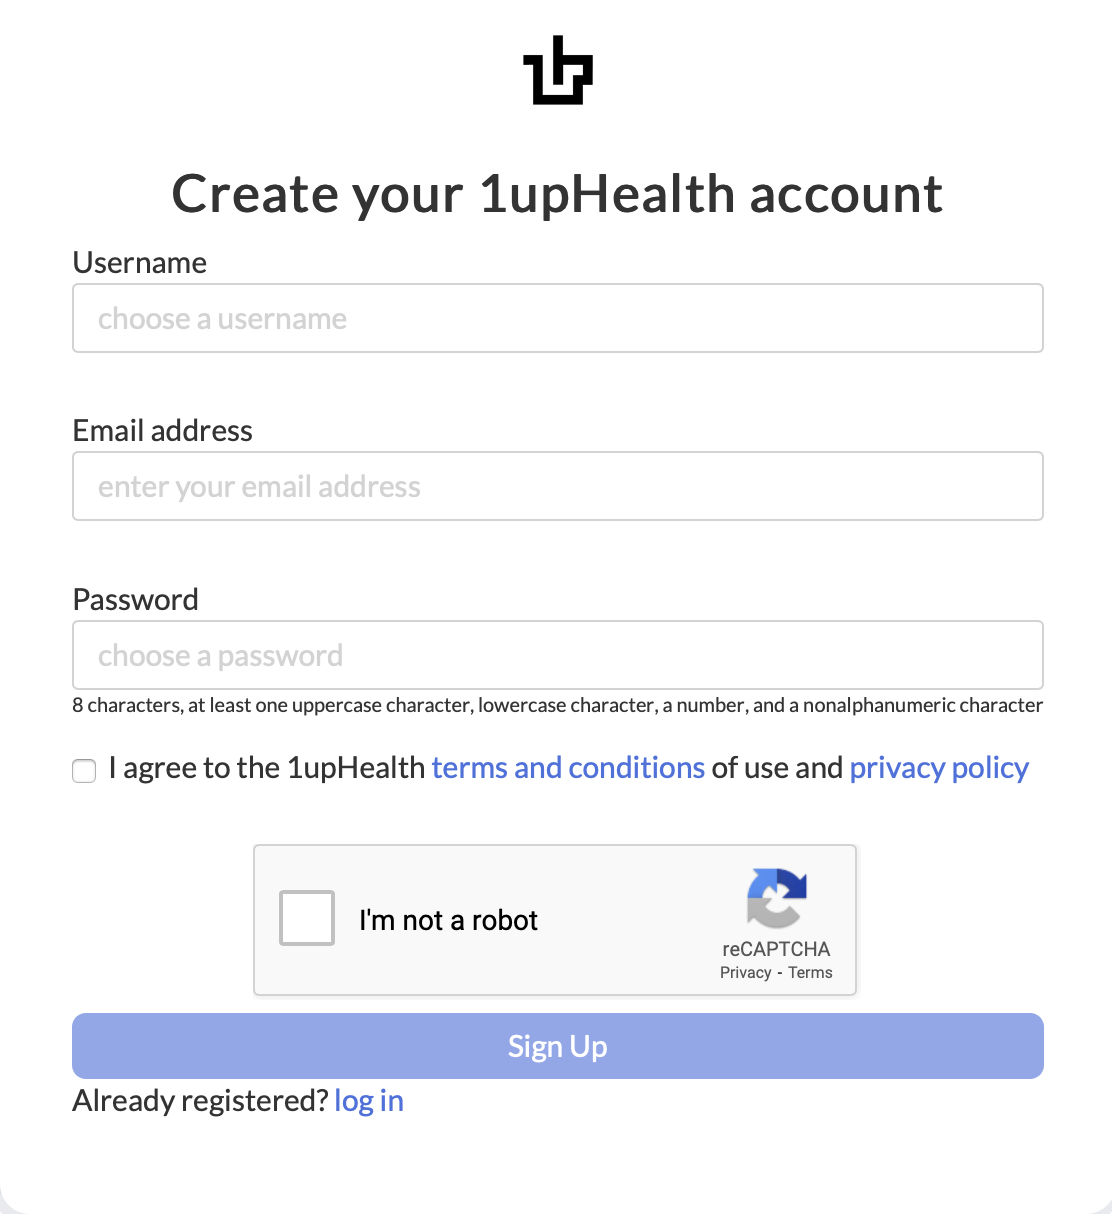
The Create your 1upHealth account page appears.
-
Specify a user name, email address, and password for your account.
-
Select the verification check boxes.
-
Click
After you create your account, you'll receive an email with instructions to confirm your account.
-
Follow the instructions in the email to confirm your account.
-
Sign in to your account.
-
Create an Application
After you create an account and sign in to the 1up Developer Console, you can create an application.
-
In the 1upHealth Developer Console, select Dashboard from the left navigation menu.
The Dashboard page appears.
-
Click .
-
Type a name for your application and an OAuth2 redirect URL.
This is the root URL for your application.
For a test application, you can keep the default URL (http://localhost:8000).
-
Click .
Your application details appear, including your Client ID and Client Secret.
-
Make note of your Client ID and Client Secret.
Keep your Client ID and Client Secret in a secure location. You will need them in the future and they don't appear again.


