Use Patient Viewer
You can use the Patient Viewer application to search for an individual patient (member) in a 1upHealth single-tenant environment, and review all of the clinical and claims data for that patient. After you locate a patient, you can review that member’s claims data that’s available to share with third-party applications, and verify the quality of the claims data.
Before You Begin
Before you use Patient Viewer, make sure you get the following information from your 1upHealth Customer Success Manager.
-
Access permissions
If you have not previously signed in to Patient Viewer, you might not have the necessary permissions to use the application.
To request access to Patient Viewer and the necessary customer environments, contact your 1upHealth Customer Success Manager. Make sure to include the required information in your access request.
-
Patient Viewer address
The web address (URL) that you use to connect to Patient Viewer is unique and has the following format.
https://<customer-name>.console.1up.health/patient-viewer
Sign In to Patient Viewer
After you’ve been granted access to the Patient Viewer application and the necessary customer environments, you can sign in to Patient Viewer.
-
In a web browser, go to https://<customer-name>.console.1up.health/patient-viewer.
Make sure to replace <customer-name> in the URL with the correct name provided by your 1upHealth Customer Success Manager.
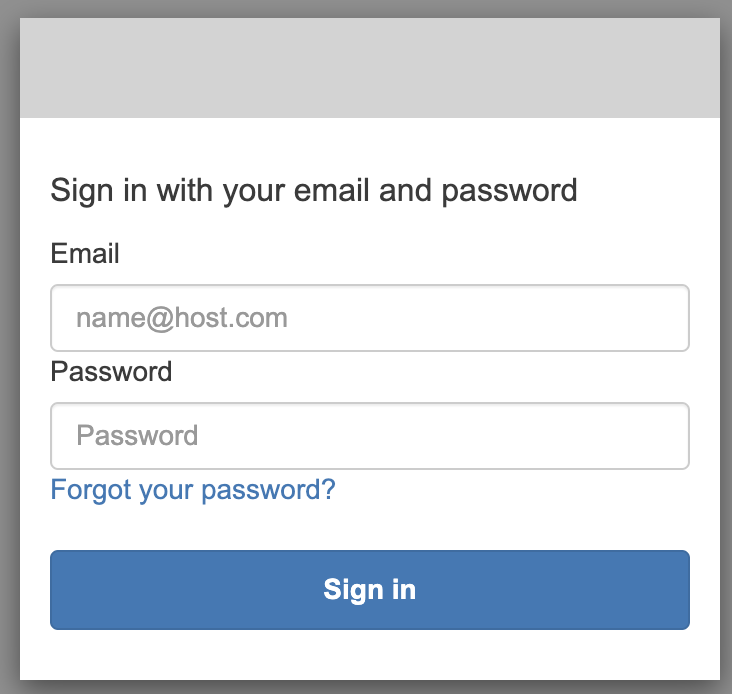
The Sign In page appears.
The sign in steps can vary, depending on your Identity Provider.
-
In the and text boxes, type the same email address and password that you use to sign in to your company accounts.
-
If required, enter the multi-factor authentication (MFA) challenge code from your mobile authenticator application.
The MFA steps can vary, depending on your Identity Provider.
-
Click .
Your session begins and continues for one hour. After one hour, you are automatically signed out and the Sign In page automatically appears again.
If your session is inactive for more than 15 minutes, you are automatically signed out and redirected to the page.
Search for a Patient
After you successfully sign in to Patient Viewer, you can search for a specific patient to see all of the FHIR Resources for that patient.
-
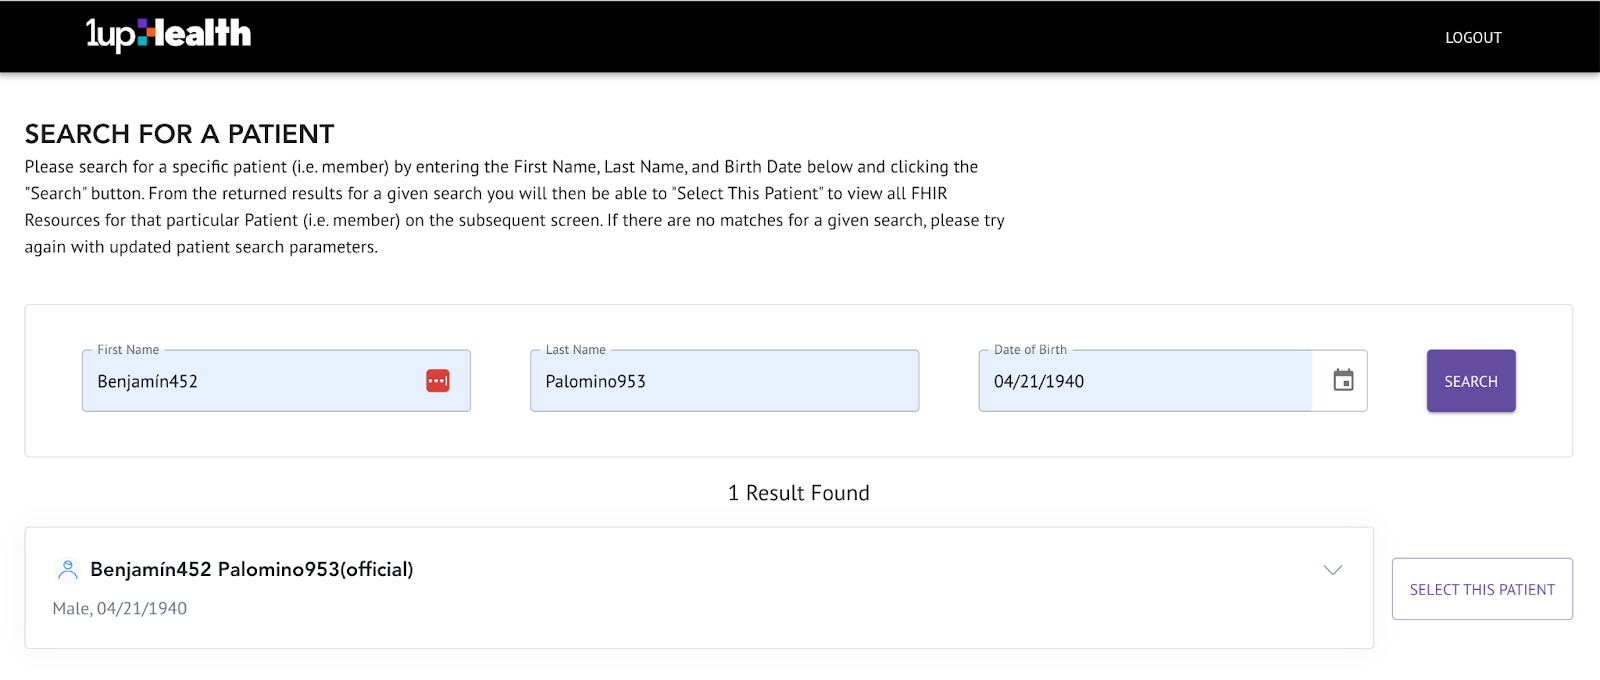
In the , , and text boxes, type the information for the patient.
-
Click .
The search results appear with a list of users that match the parameters you specified.
-
To review the FHIR Resources for a specific patient, click .
The list of all FHIR Resources for that patient appears.
If there are no matches for your search, you can try again with a different patient's first name, last name, or date of birth.
Review Patient Data
After you select a patient from the results, you can review the list of FHIR resource types for that patient.
-
To see the patient data for a resource type, from the list, select a resource type.
The summary view of that resource appears.
-
If the results return more than five items in the list, click the pagination arrows to see the resource types on the other pages.
-
To change the number of resource types that appear on a page, from the drop-down list, select a different value: 1, 5, 10, 25, 50, or 100.
-
To see the raw JSON for the resource, click .
The JSON contents appear.

Start a New Search
After you complete a patient search and have finished reviewing the results, you can return to the Search page to start a new patient search.
-
At the top of the page, click .
The Search page appears.
-
Complete the process to search for a patient.
Sign Out of Patient Viewer
After you’ve finished searching for patients and have reviewed all of the necessary patient data, you can sign out of Patient Viewer.
To sign out of Patient Viewer, at the top-right of the window, click .