Provider implementation
This page is intended for technical staff at provider organizations.
The 1up Provider Access API is a bulk FHIR data API that meets the HL7 FHIR Bulk Data API specification. In order to make a request to the Provider Access API, an access token must be supplied that identifies the provider organization. This token is obtained through an OAuth 2.0 client credentials flow, enabled by 1up's Dev Portal.
From the Dev Portal, provider organizations can both create a sandbox client and request access to the production client. Accessing production data requires verification by 1upHealth. Once your organization is verified, you can generate client credentials and retrieve an authorization token. This token can be used to make requests to the Provider Access API and export data for your patients.
After making a valid FHIR bulk export request, you will receive a URL to track the asynchronous job exporting your patients’ data. Once complete, you will be given additional URLs to download your exported patient data as .ndjson files. All of these requests will be made with the same authorization token retrieved on behalf of your client.
Request production access
-
Click the following link to access the 1up Dev Portal login page.
-
Register for the 1up Dev Portal, then complete email verification, and login.
-
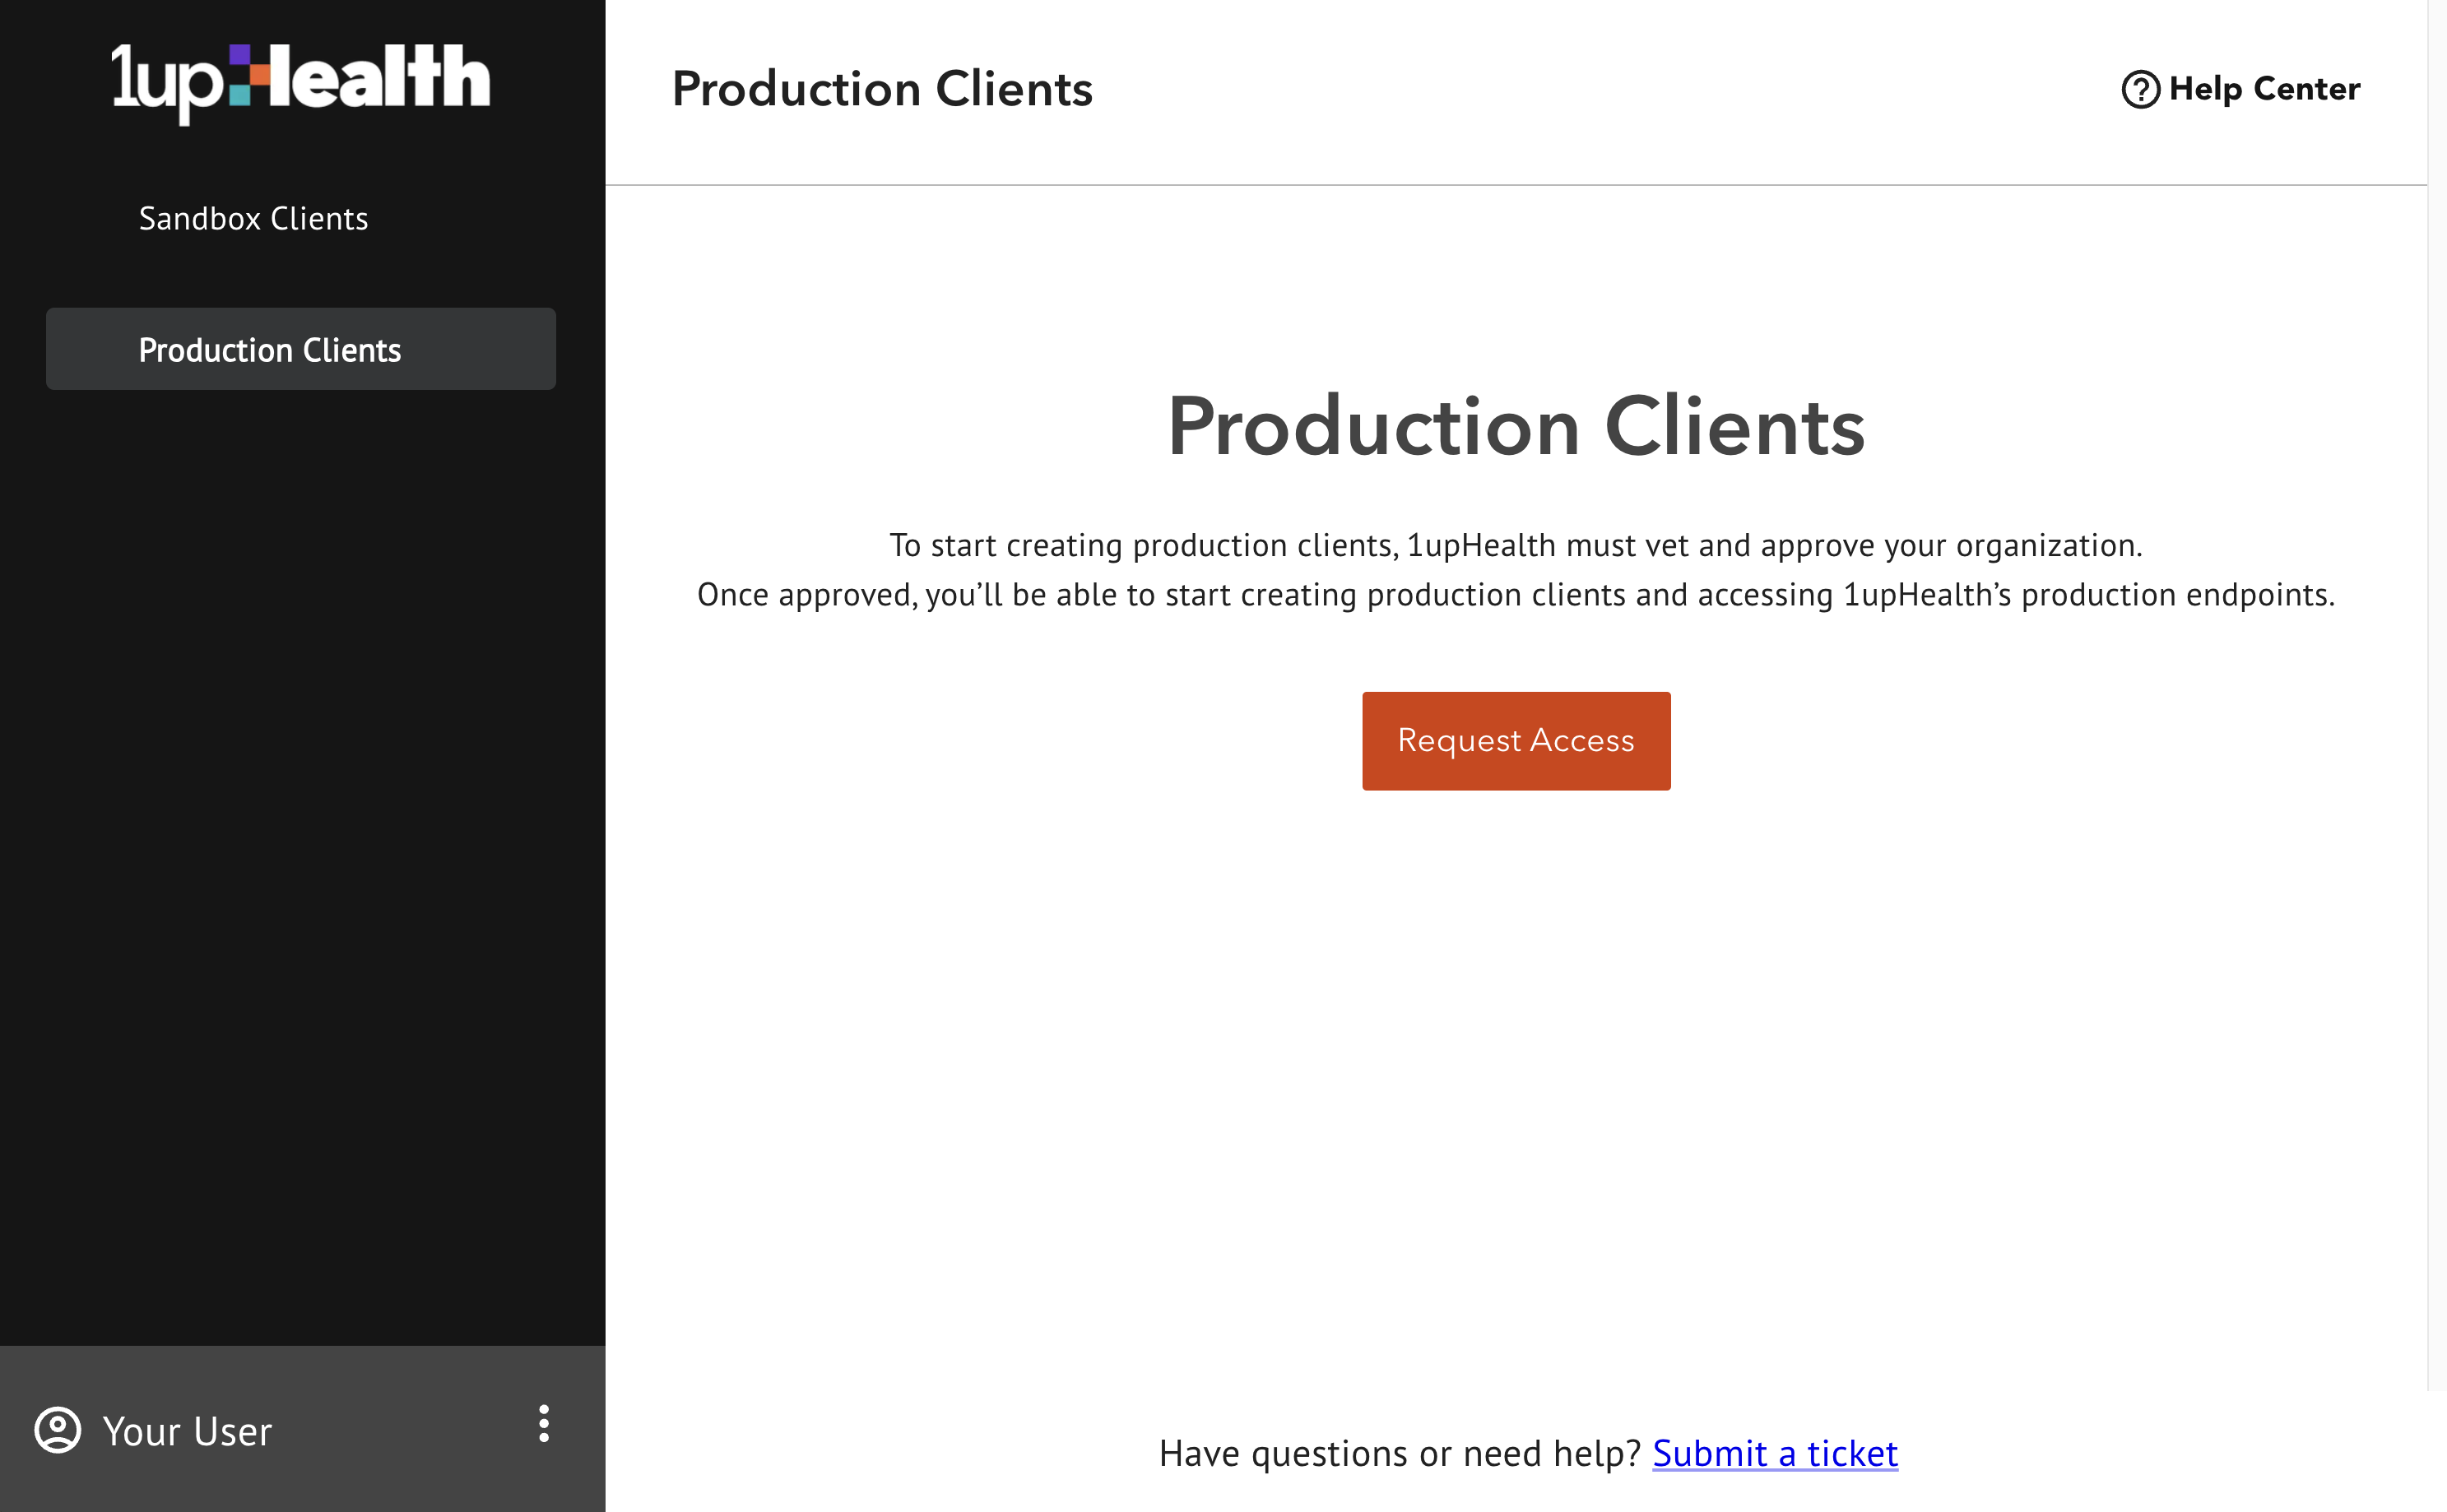
From the Dev Portal home page, in the left hand sidebar, click Production Clients.
-
On the Production Clients screen, click Request Access. To gain production access, you must submit a multi-stage production access form so 1up can validate your organization.
-
Fill out the Requesting Production Access form:
-
Select either Provider/Health Systems or Accountable Care Organization (ACO) under Organization Type. This requests access to the Attributed member claims data (CMS Provider Access) access type.
-
Enter your organization's National Provider Identification (NPI) number. You should use the NPI that represents your entire organization or system, rather than the NPI of any individual provider within it.
-
Enter your organization's Taxpayer Identifier Number (TIN).
-
-
Click Next and fill out the remaining information on the form which provides details for the vetting process used by 1up, then click Submit.
-
Once you submit this form, 1upHealth will review the information provided. While your production access is pending, you can access the 1up sandbox and create clients to pull some synthetic data.
-
Once your requested production access has been granted, you will have access to the production clients tab in the Dev Portal allowing you to create and manage production clients.
Create a production client
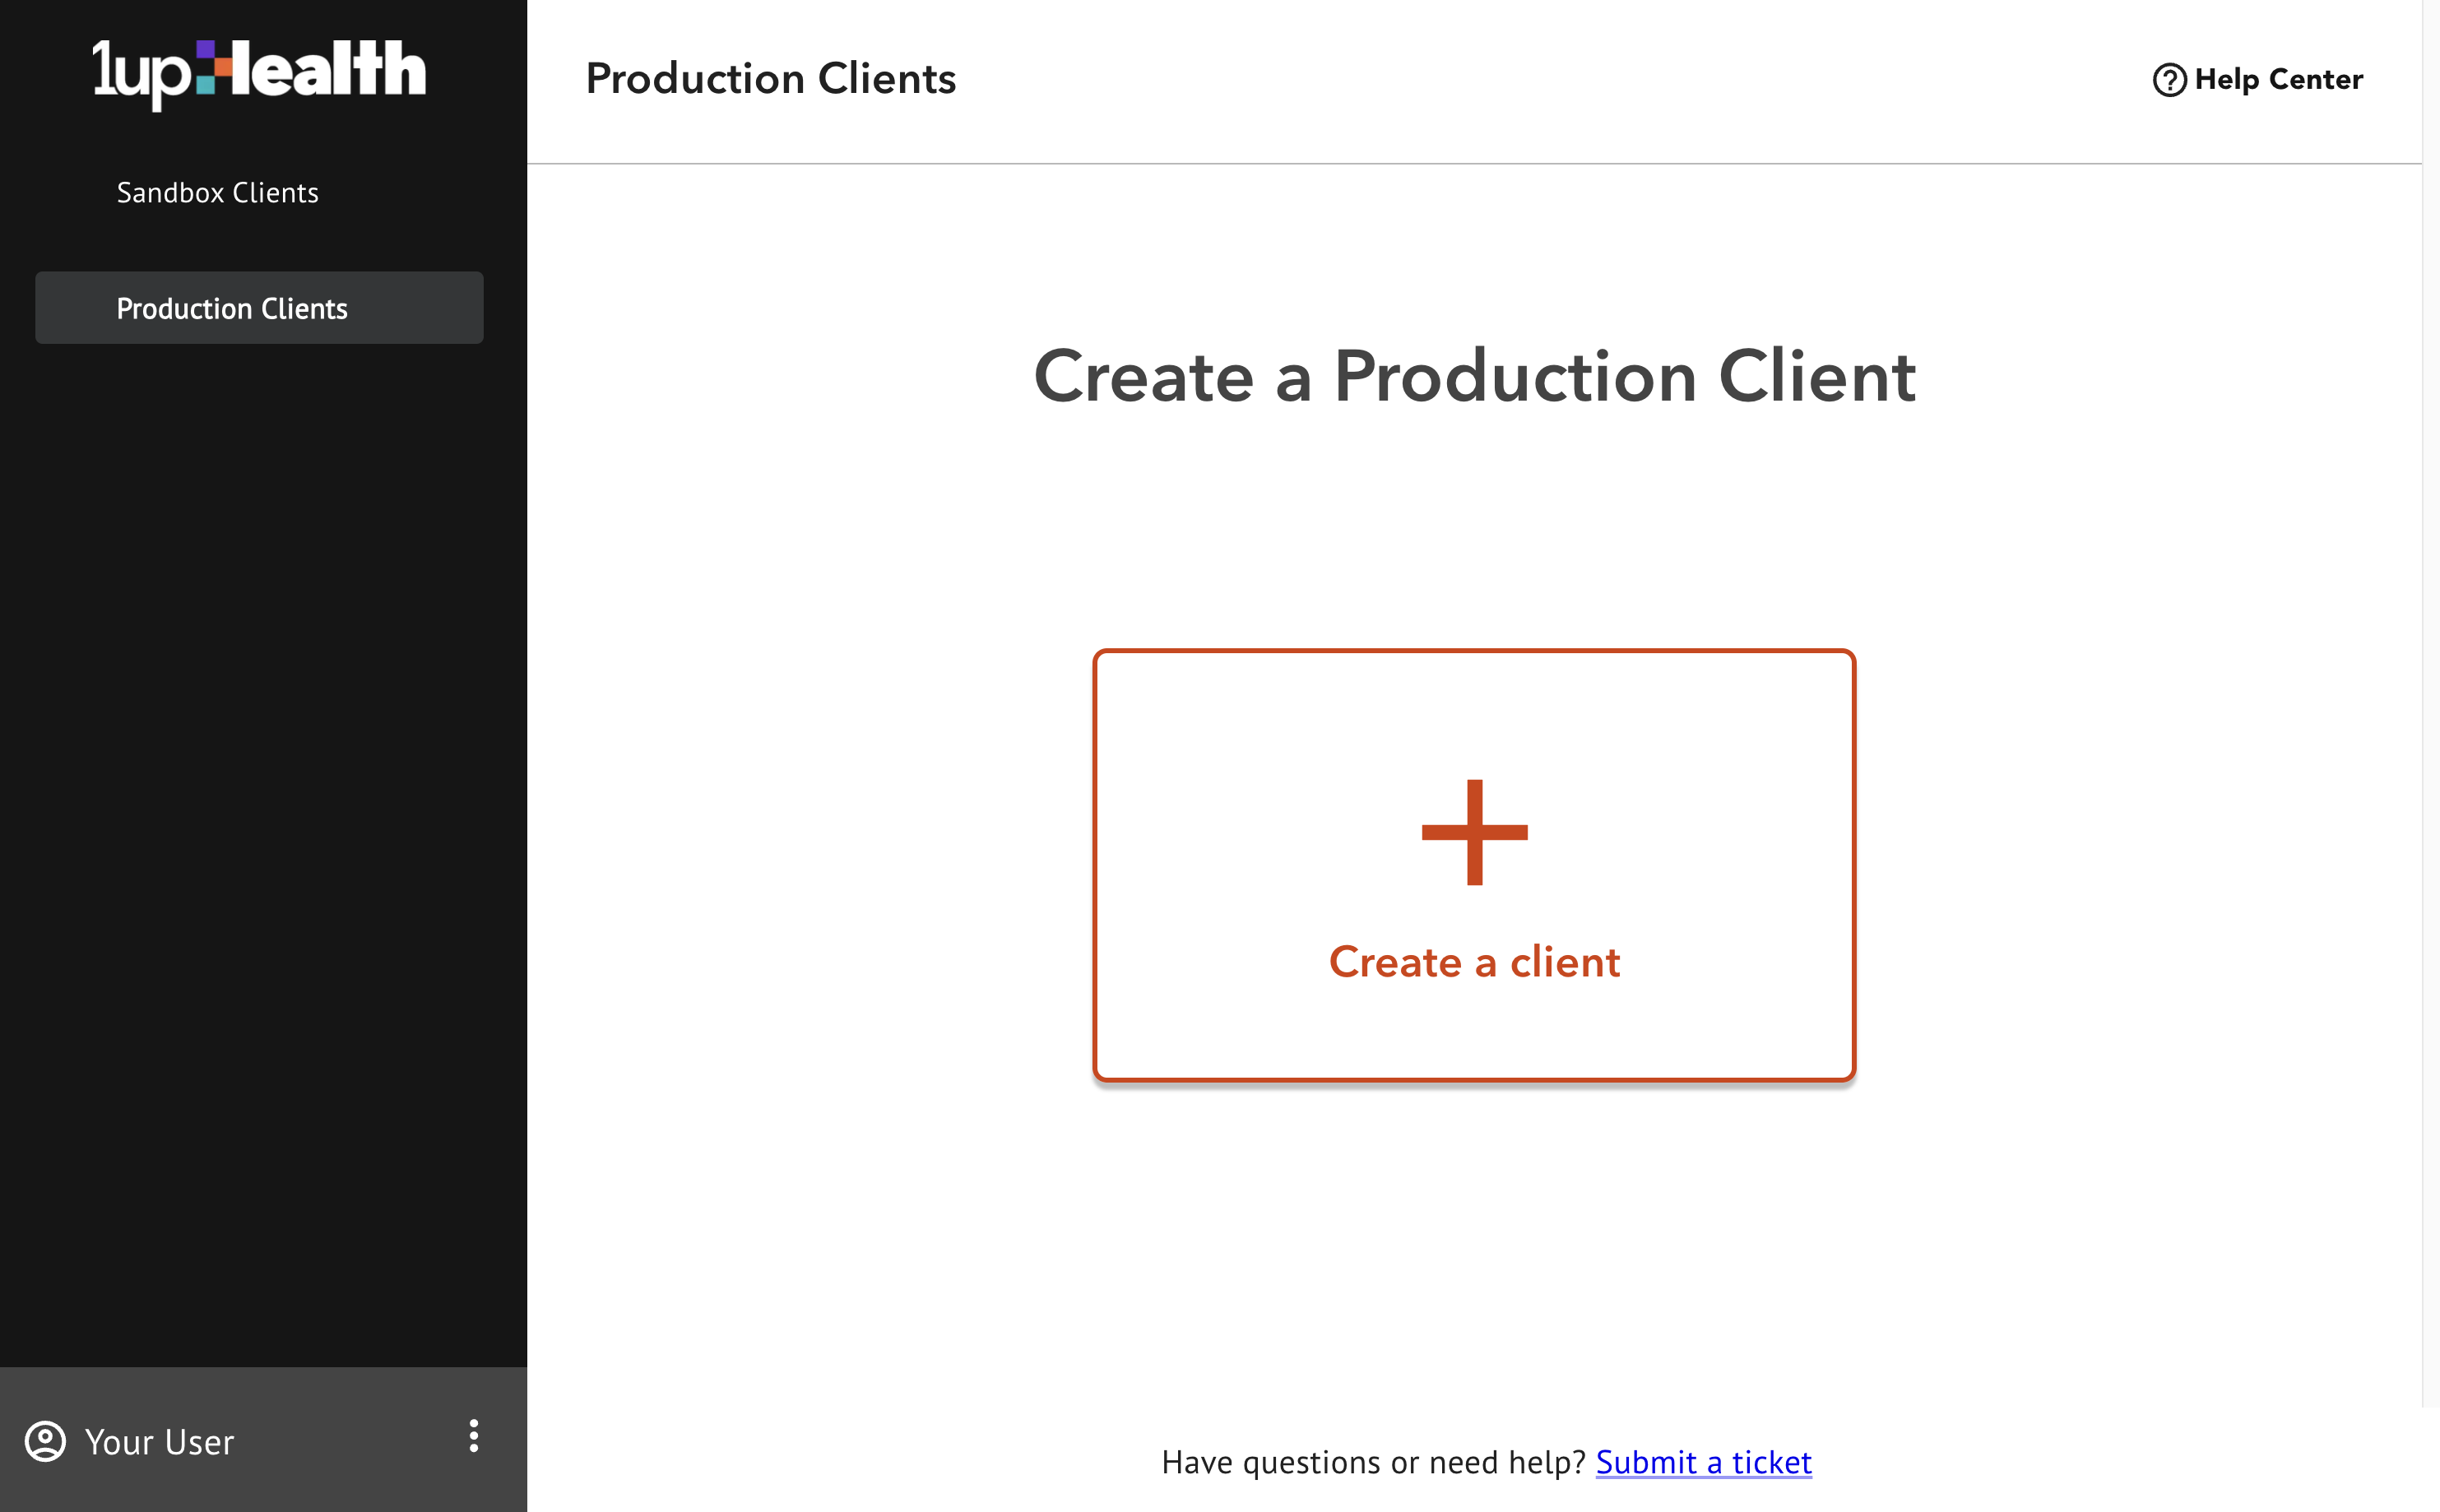
You must request production access in the Dev Portal before you can create a production client. Once your requested production access has been granted, you will have access to the Production Clients tab in the Dev Portal allowing you to create and manage production clients.
-
Log into the Dev Portal.
-
From the Dev Portal home page, on the left hand sidebar, click Production Clients, then click Create a client.
-
Uunder Access Type, select Attributed members claims data (CMS Provider Access).
-
Enter a Client Name and Description for your client. In production, this client may represent an application (like an EHR System) that makes Provider Access API requests.
-
Click Create.
Bulk export for production clients
The process and commands are the same in production as they are for the quick start instructions.
Replace the {curly brackets} and any text inside them with the appropriate value.
-
Copy your production client ID and client secret.
-
Request an authorization token by pasting the following code into a terminal.
curl --location 'https://gateway.1up.health/auth/realms/dev-portal/protocol/openid-connect/token' \
  --header 'Content-Type: application/x-www-form-urlencoded' \
  --data-urlencode 'client_id={add-your-client-id-here}' \
  --data-urlencode 'client_secret={add-your-client-secret-here}' \
  --data-urlencode 'grant_type=client_credentials' \
--data-urlencode 'scope=bulk-data|user/*.rs' -
Copy the access_token from the response to a text file. You will use this token for subsequent requests.
-
Make your FHIR bulk export request by replacing
{access_token}for your copied access token and replacing{tenant}with the tenant value for a payer. This request returns all data the payer has saved for any patients attributed to your organization. Contact 1upHealth support for a list of available payers for your production client. -
Copy the job URL from the response.
-
Send a request to check the progress of the FHIR bulk export. The response will include a list of files using URLs.
-
Copy the URL for any of the files.
-
Send a request to return the data from one of the files.
-
Review the patient information returned from the payer.